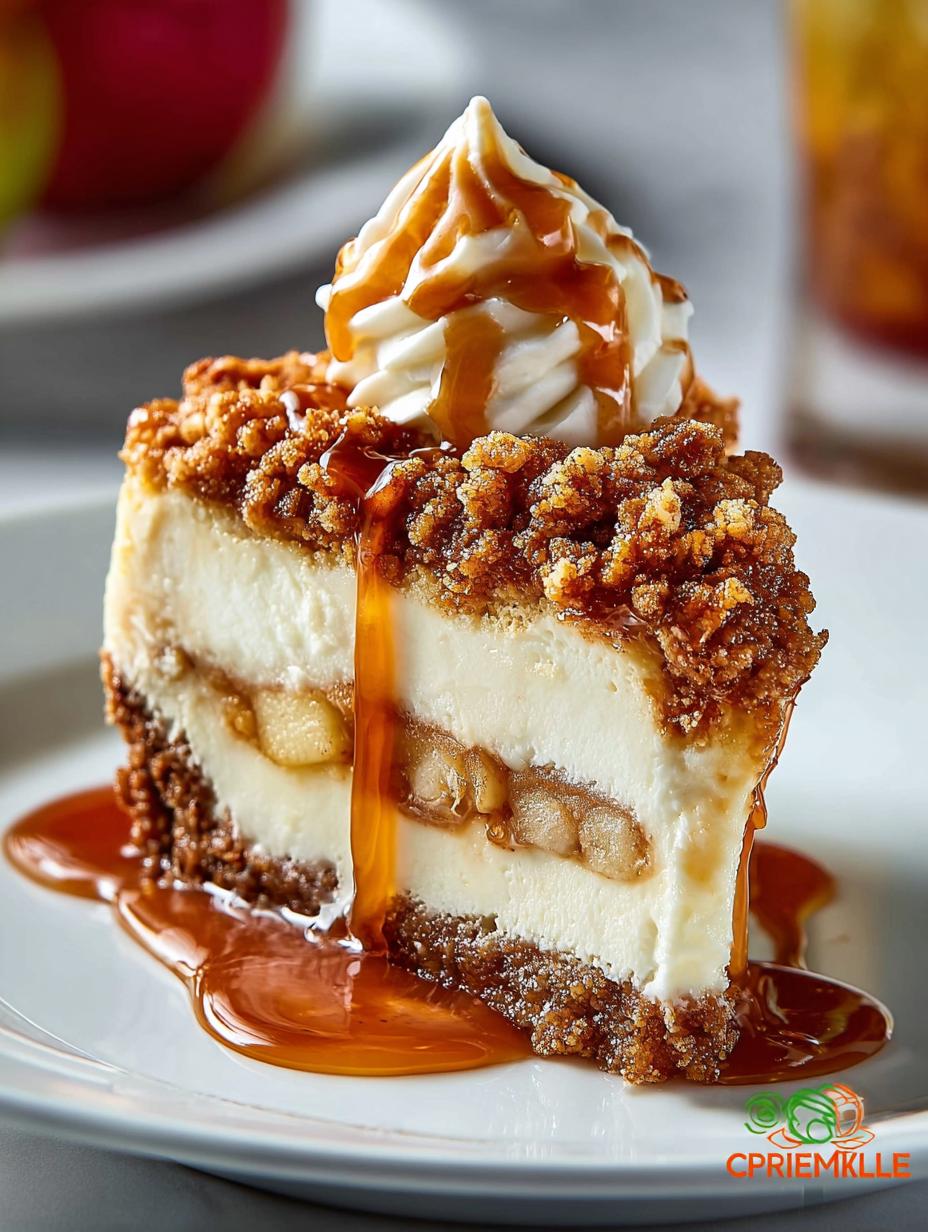
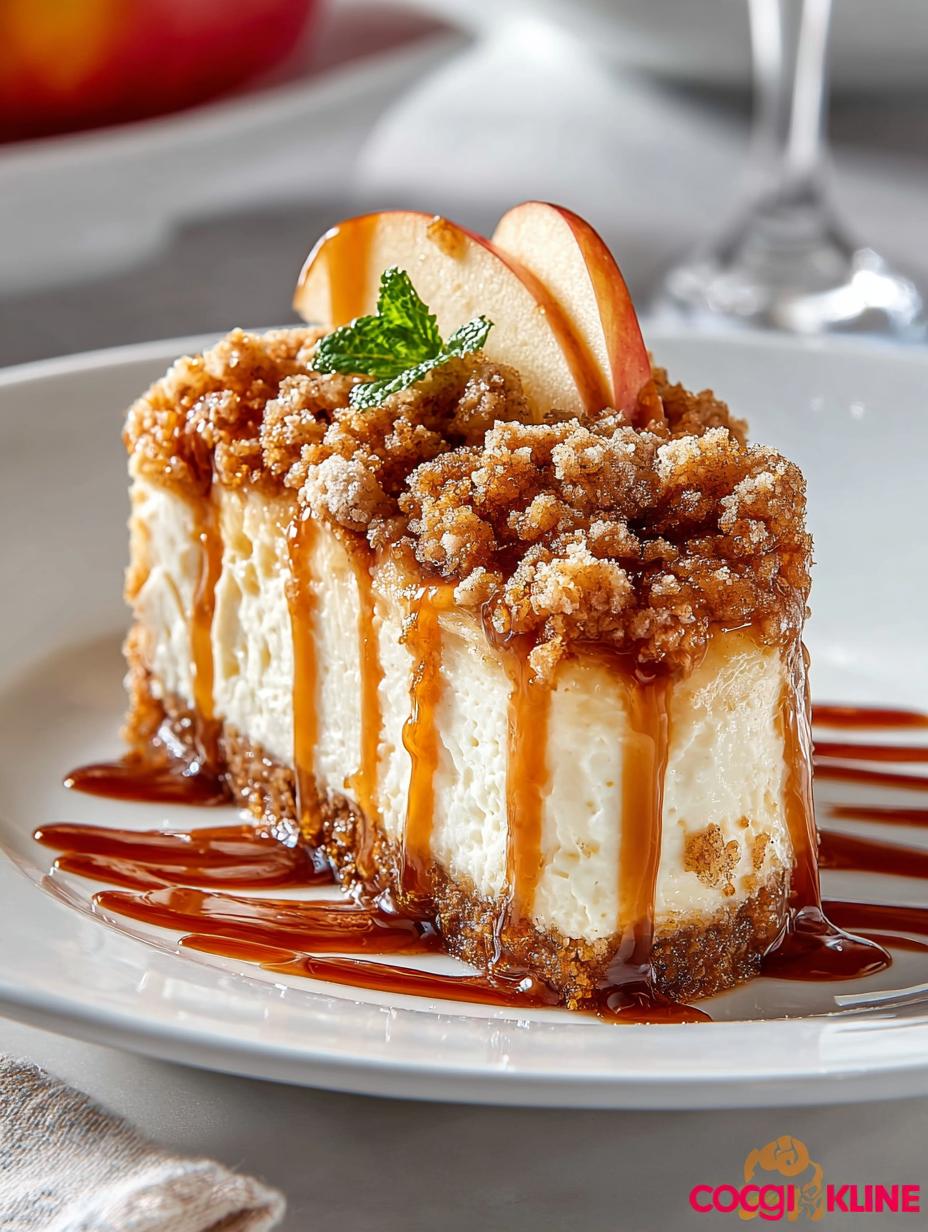
Apple Crisp Cheesecake is a luscious twist on two favorite desserts, merging the creamy richness of cheesecake with the warm, spiced goodness of apple crisp. This dessert truly shines during fall, but its delightful flavors make it perfect for celebrations year-round. Imagine a buttery graham cracker crust, silky cheesecake filling, spiced apple layer, and a crunchy oat topping—all coming together to create an unforgettable experience. This easy-to-follow recipe will have your friends and family raving about it long after the last bite!
Why You’ll Love This Apple Crisp Cheesecake
There are countless reasons to fall in love with this Apple Crisp Cheesecake. Here are just a few:
1. It combines the best of both worlds: cheesecake and apple crisp.
2. It’s a stunning dessert that will impress your guests.
3. Perfect for any occasion—from family dinners to holiday gatherings.
4. The creamy texture pairs beautifully with the crunchy oat topping.
5. It’s versatile; you can customize with your favorite apples or toppings.
6. Easily made in advance, saving you time during busy weeks.
This Apple Crisp Cheesecake Recipe is a delightful way to treat yourself and your loved ones!
Ingredients for Apple Crisp Cheesecake
Gather these items:
- 24 oz cream cheese, softened
- 1 cup granulated sugar
- 3 large eggs
- 1 tsp vanilla extract
- 1/2 cup sour cream
- 2 cups diced apples (Granny Smith or Honeycrisp)
- 1/2 tsp cinnamon
- 1/8 tsp nutmeg
- 2 tbsp all-purpose flour (for apple mixture)
- 1/2 cup brown sugar (for apple layer)
- 1 1/4 cups old-fashioned oats
- 1/2 cup all-purpose flour (for crisp topping)
- 1/2 cup brown sugar (for crisp topping)
- 1/2 cup cold butter, cubed
- 1/4 tsp cinnamon (for crisp topping)
- 1/4 tsp salt
- 1 1/2 cups graham cracker crumbs
- 1/3 cup melted butter (for crust)
- Caramel sauce for topping (optional)
How to Make Apple Crisp Cheesecake Step-by-Step
- Step 1: Preheat oven to 325°F (160°C). Line the bottom of a 9-inch springform pan with parchment paper and grease the sides.
- Step 2: Mix graham cracker crumbs with melted butter and salt. Press into the bottom of the pan. Bake for 8–10 minutes, then cool.
- Step 3: Beat softened cream cheese until smooth. Add sugar and mix well. Add eggs one at a time, then vanilla and sour cream. Mix until just combined.
- Step 4: Toss diced apples with brown sugar, flour, cinnamon, and nutmeg. Let sit while assembling.
- Step 5: Pour cheesecake batter over the cooled crust. Spoon apple mixture evenly over the batter.
- Step 6: In a bowl, combine oats, flour, brown sugar, cinnamon, and cubed cold butter. Mix until crumbly. Sprinkle on top of apples.
- Step 7: Bake for 60–70 minutes or until edges are set and center jiggles slightly. Turn off oven and let sit with door ajar for 1 hour.
- Step 8: Cool completely at room temperature, then refrigerate for at least 4 hours or overnight.
- Step 9: Drizzle with caramel sauce before serving, if desired.

Pro Tips for the Best Apple Crisp Cheesecake
Keep these in mind:
- This cheesecake can be made a day in advance, allowing the flavors to meld beautifully.
- Store leftovers in the refrigerator to maintain freshness.
- For a creamier texture, ensure your cream cheese is at room temperature before mixing.
- Experiment with different apple varieties for a unique taste.
Best Ways to Serve Apple Crisp Cheesecake
Serve your cheesecake with a drizzle of caramel sauce for added sweetness. Pair it with a dollop of whipped cream or a scoop of vanilla ice cream for an indulgent treat. This Apple Cinnamon Dessert with Cheesecake is ideal for holiday gatherings like Thanksgiving!
How to Store and Reheat Apple Crisp Cheesecake
This cheesecake is best stored in the refrigerator. Allow it to cool completely, then wrap it tightly in plastic wrap or place it in an airtight container. It can last up to 5 days. When ready to enjoy, simply slice and serve cold, or let it sit at room temperature for a bit before serving. This makes it a great Easy Apple Cheesecake Dessert for meal prep.
Frequently Asked Questions About Apple Crisp Cheesecake
What’s the secret to perfect Apple Crisp Cheesecake?
The secret lies in the balance of flavors and textures—using the right apples, ensuring the cheesecake is smooth, and achieving that perfect oat topping crunch. Follow the steps carefully for the best results!
Can I make Apple Crisp Cheesecake ahead of time?
Absolutely! In fact, making it a day in advance can enhance the flavor as it sets in the fridge. Just remember to cover it well to keep it fresh.
How do I avoid common mistakes with Apple Crisp Cheesecake?
To avoid common pitfalls, ensure your cream cheese is softened completely to prevent lumps. Also, avoid overmixing the batter to keep it light and fluffy.
Variations of Apple Crisp Cheesecake You Can Try
For those looking to mix things up, consider a No-Bake Apple Crisp Cheesecake for a lighter version. You can also try adding pecans or walnuts to the oat topping for added crunch. For a gourmet twist, incorporate caramel apple flavors into the cheesecake batter.
For more delicious dessert ideas, check out our dessert category. You might also enjoy our Chocolate Eclair Cake or Grandma Carter’s Peanut Butter Cookies. If you’re looking for tips on baking, visit King Arthur Baking for expert advice!
Print
Apple Crisp Cheesecake: 5 Reasons You’ll Love This Delight
- Total Time: 6 hours
- Yield: 12 servings 1x
- Diet: Vegetarian
Description
A luscious twist on two favorites, this Apple Crisp Cheesecake is the ultimate fusion dessert for fall or any time of year.
Ingredients
- 24 oz cream cheese, softened
- 1 cup granulated sugar
- 3 large eggs
- 1 tsp vanilla extract
- 1/2 cup sour cream
- 2 cups diced apples (Granny Smith or Honeycrisp)
- 1/2 tsp cinnamon
- 1/8 tsp nutmeg
- 2 tbsp all-purpose flour (for apple mixture)
- 1/2 cup brown sugar (for apple layer)
- 1 1/4 cups old-fashioned oats
- 1/2 cup all-purpose flour (for crisp topping)
- 1/2 cup brown sugar (for crisp topping)
- 1/2 cup cold butter, cubed
- 1/4 tsp cinnamon (for crisp topping)
- 1/4 tsp salt
- 1 1/2 cups graham cracker crumbs
- 1/3 cup melted butter (for crust)
- Caramel sauce for topping (optional)
Instructions
- Preheat oven to 325°F (160°C). Line the bottom of a 9-inch springform pan with parchment paper and grease the sides.
- Mix graham cracker crumbs with melted butter and salt. Press into the bottom of the pan. Bake for 8–10 minutes, then cool.
- Beat softened cream cheese until smooth. Add sugar and mix well. Add eggs one at a time, then vanilla and sour cream. Mix until just combined.
- Toss diced apples with brown sugar, flour, cinnamon, and nutmeg. Let sit while assembling.
- Pour cheesecake batter over the cooled crust. Spoon apple mixture evenly over the batter.
- In a bowl, combine oats, flour, brown sugar, cinnamon, and cubed cold butter. Mix until crumbly. Sprinkle on top of apples.
- Bake for 60–70 minutes or until edges are set and center jiggles slightly. Turn off oven and let sit with door ajar for 1 hour.
- Cool completely at room temperature, then refrigerate for at least 4 hours or overnight.
- Drizzle with caramel sauce before serving, if desired.
Notes
- This cheesecake can be made a day in advance.
- Store leftovers in the refrigerator.
- Prep Time: 30 minutes
- Cook Time: 60–70 minutes
- Category: Dessert
- Method: Baking
- Cuisine: American
Nutrition
- Serving Size: 1 slice
- Calories: 480
- Sugar: 28g
- Sodium: 350mg
- Fat: 28g
- Saturated Fat: 17g
- Unsaturated Fat: 8g
- Trans Fat: 0g
- Carbohydrates: 45g
- Fiber: 2g
- Protein: 6g
- Cholesterol: 110mg